Filter Validation
Filter Validation: This video contains how to use filter validation in AIV.
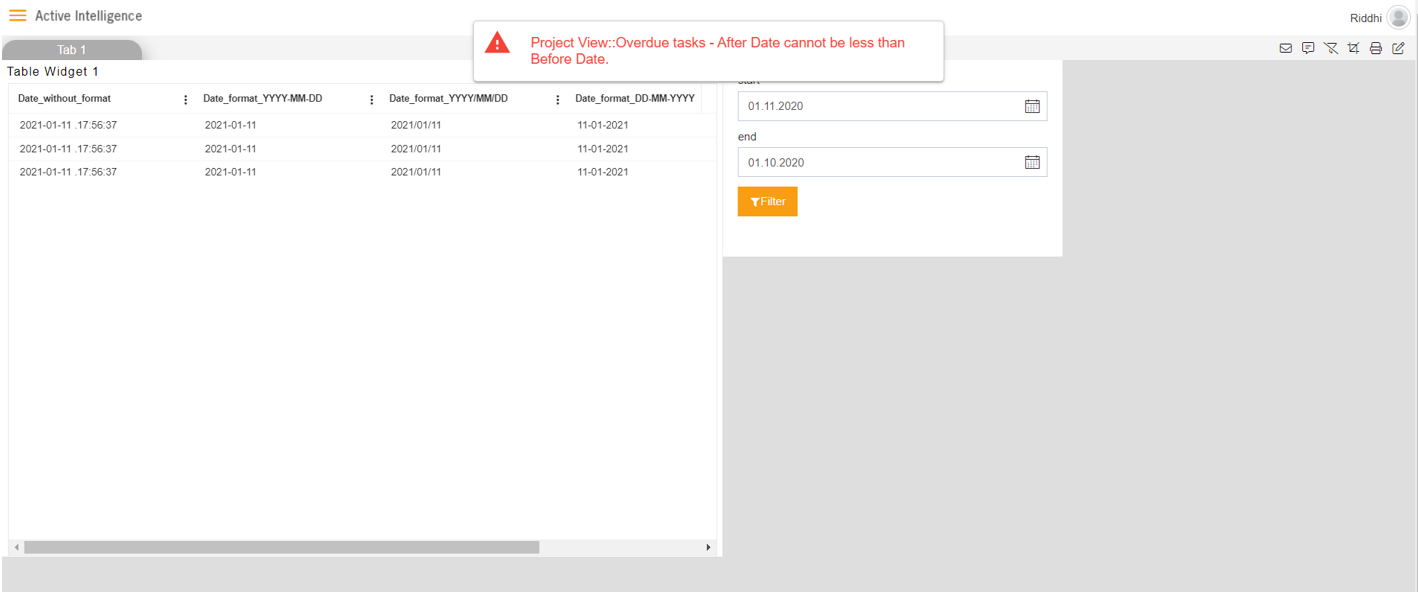
- This feature in AIV5 is used to validate the filter data as per the written script & show the output in the widget. In this example, the written script will work like this:- If the start date is after the end date & the end date is before the start date, then it will show the error message to the user on the screen.
- Click on the Hamburger icon.
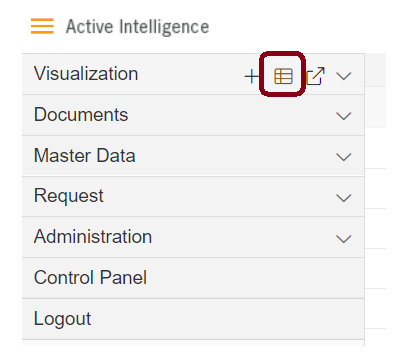
- Create dashboard box will be shown on the screen. Users can create a dashboard by clicking on the + icon.
- Users can set the dashboard name as per their requirements. Click on create button after entering the dashboard name in the dialog box. As shown in the below image.
- Users will see an empty Dashboard, as shown in the image below:
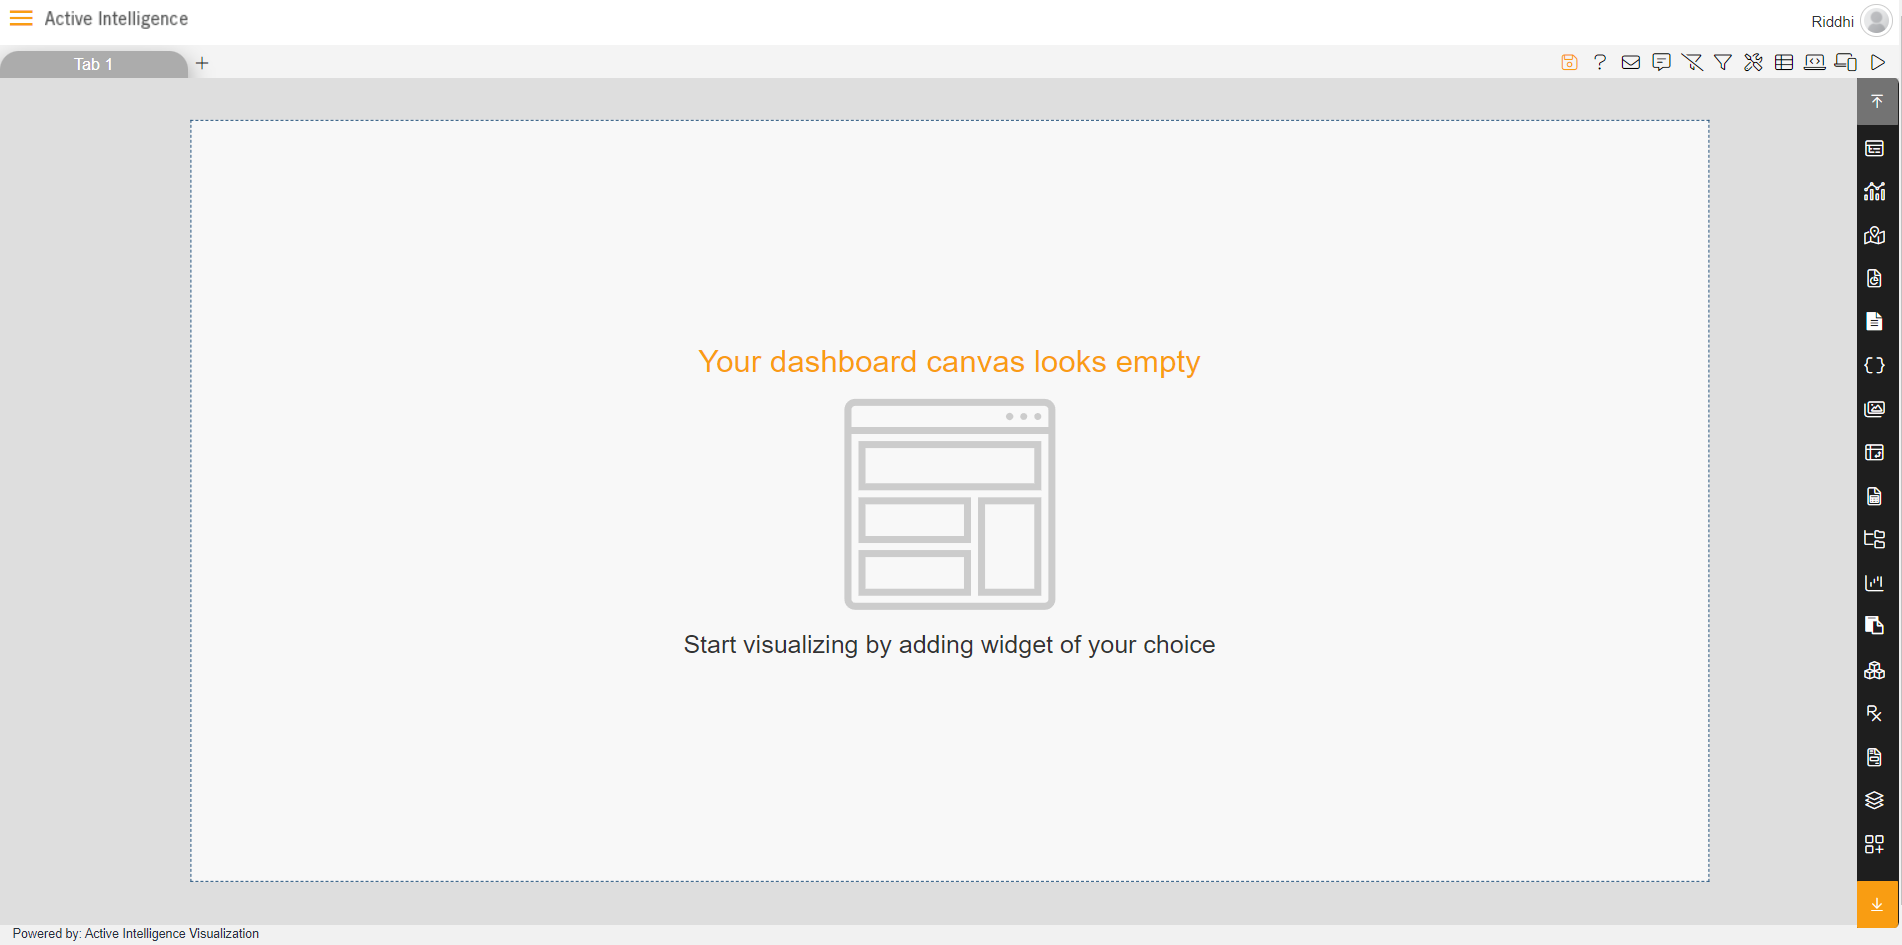
- From the right vertical menu select the Table widget icon, and the widget gets added in content place automatically in the dashboard, As shown in the image below:
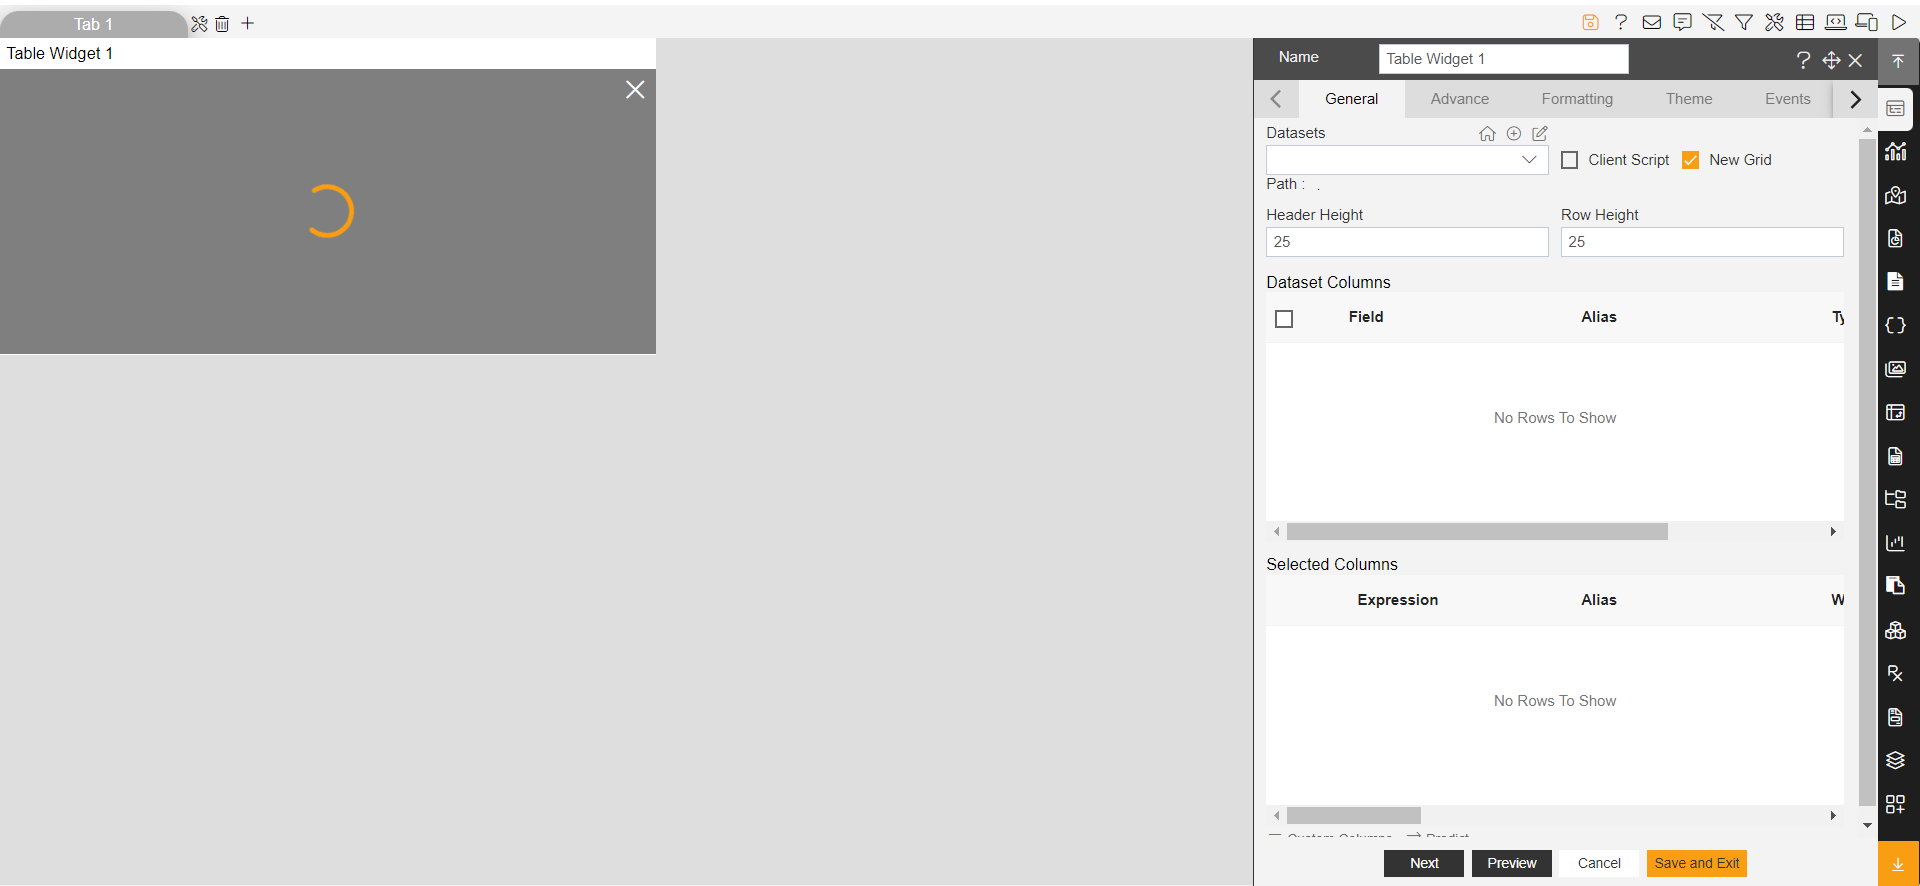
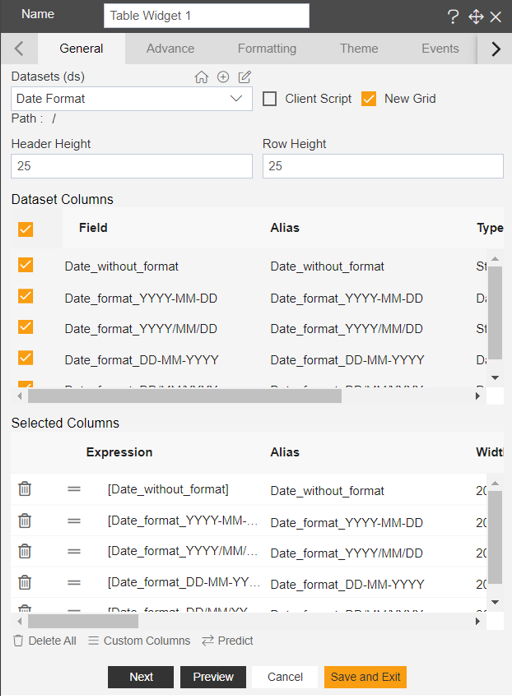
- Enter the following details in the edit menu of the table: Dataset: Date Format Dataset Columns: Select all dataset columns. As shown in the image below:
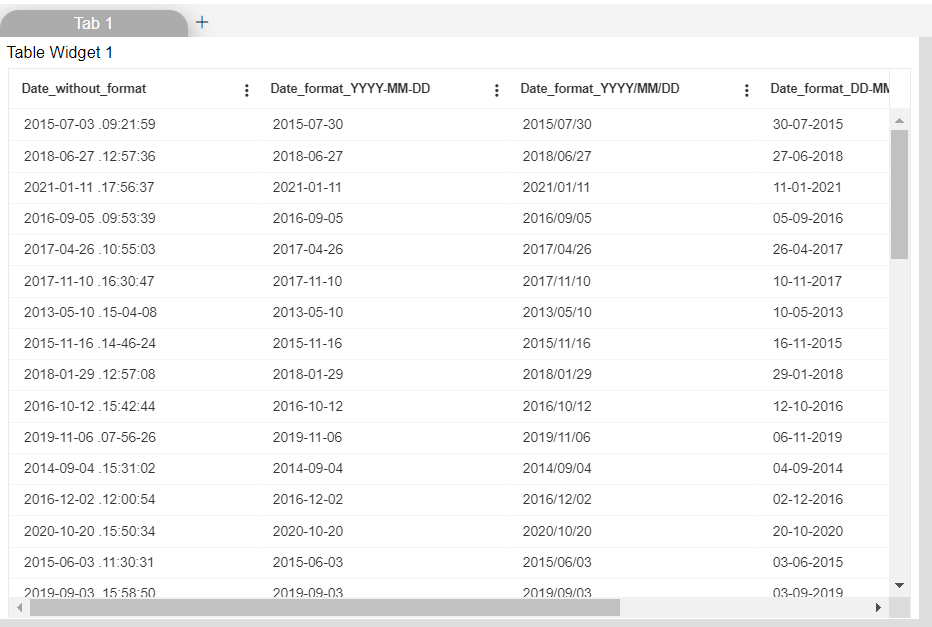
- Click on Preview & Save and Exit button.
Click on the filter icon from the top right corner of the dashboard as shown below:
Click on the
icon, & you will see the edit menu will look as per below:
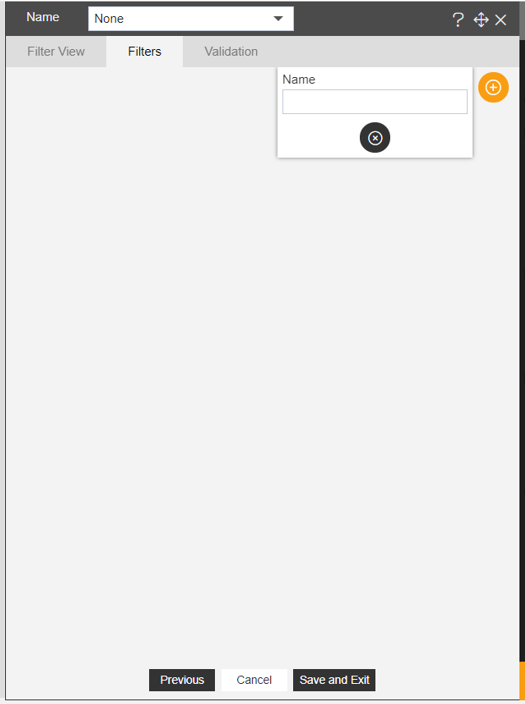
- Write start in Name box & click on the check option, then edit menu will look as per below:
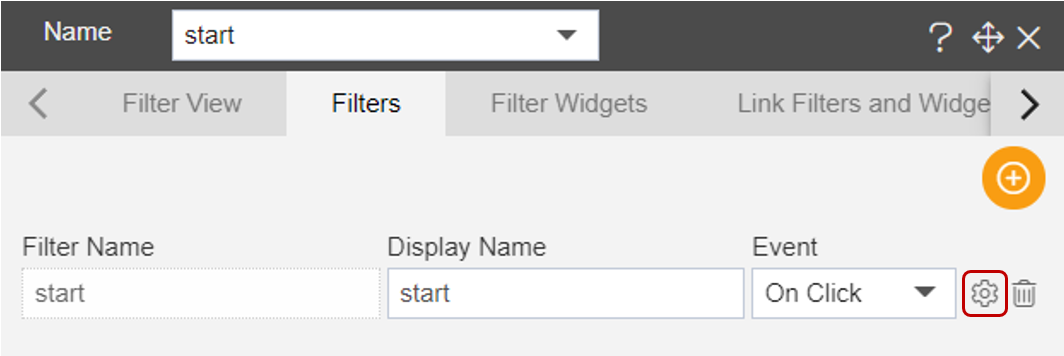
- Click on the setting button shown in the image above, and the edit menu will look as per the image below:
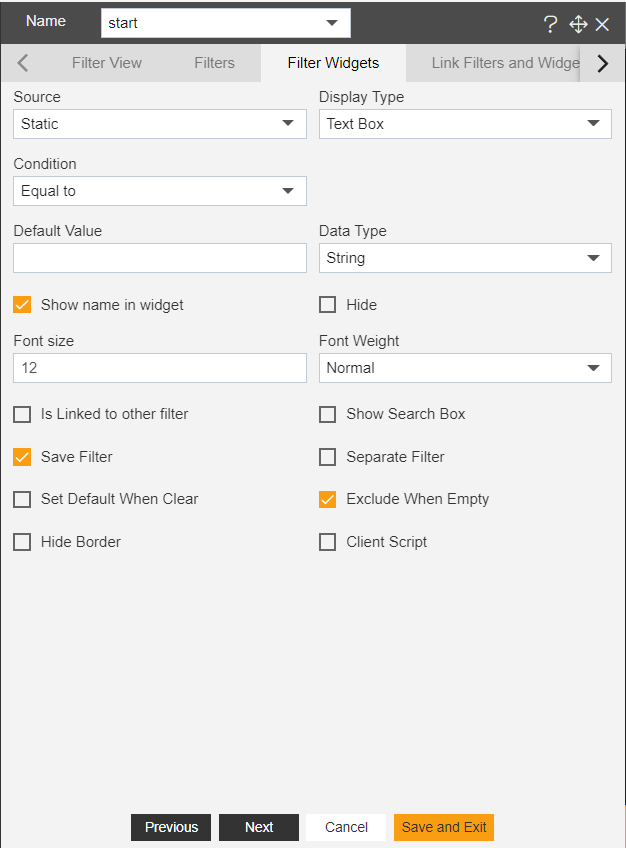
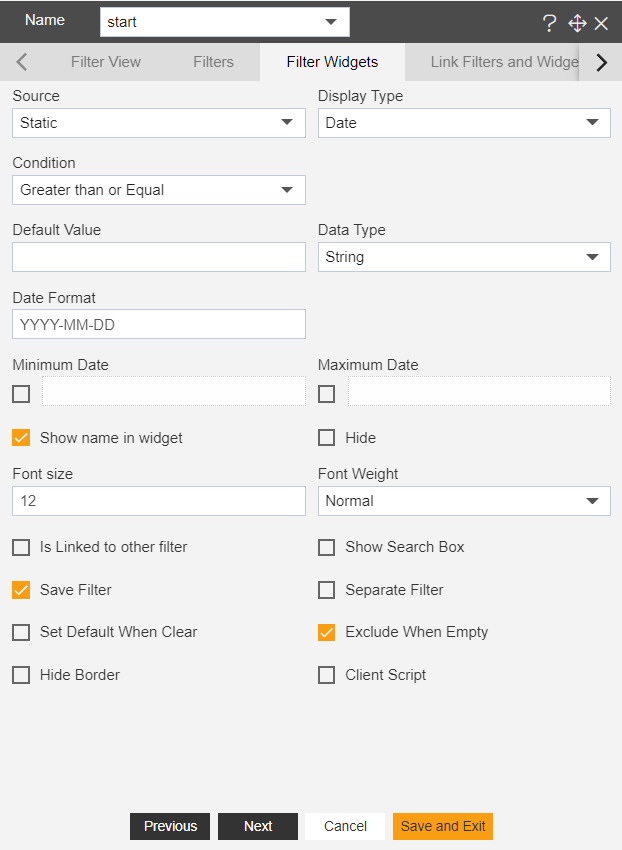
- Enter the below details in the edit menu of filter: Display Type: Date Condition: Greater than or Equal
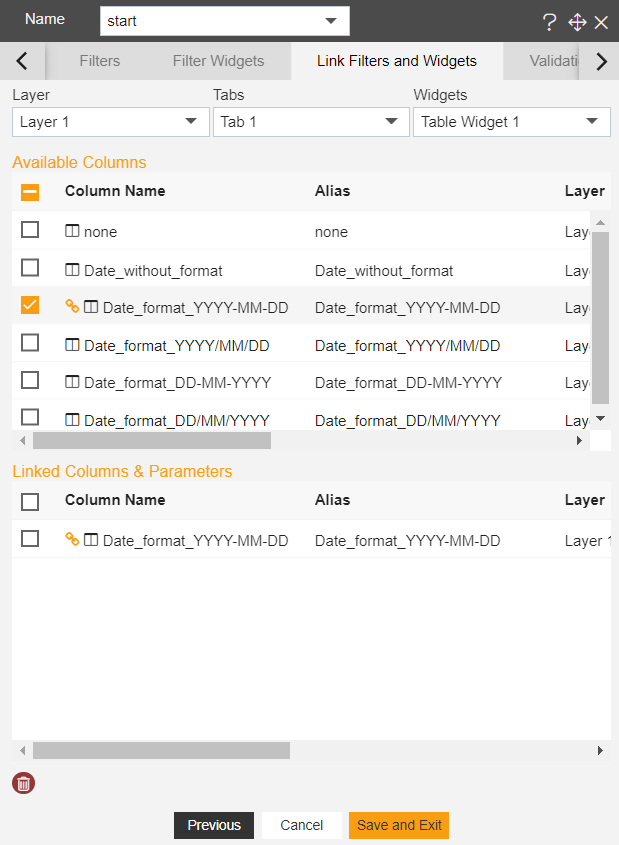
- Go to the Link Filters & Widgets tab & select the below details from the dropdown: Layer: Layer 1 Tabs: Tab 1 Widgets: Table Widget 1 Select Date_format__YYYY-MM-DD from the available columns.
- Click on Save and Exit button.
- Make another filter name “end”, with the same process & details which are used to make the “start” filter, But while is creating an “end” filter, In Condition option select Less than or Equal from the dropdown.
- Click on Save and Exit button.
- Again go to the filter icon from the top right corner of the dashboard.
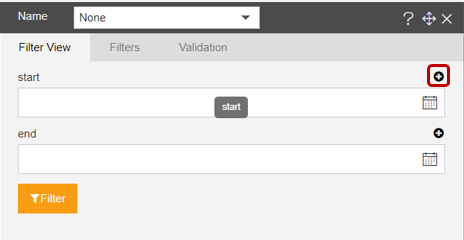
- Go to the Filter View tab & your menu will look as per below:
- Click on the (+)plus icon given in front of the start & end filter one by one.
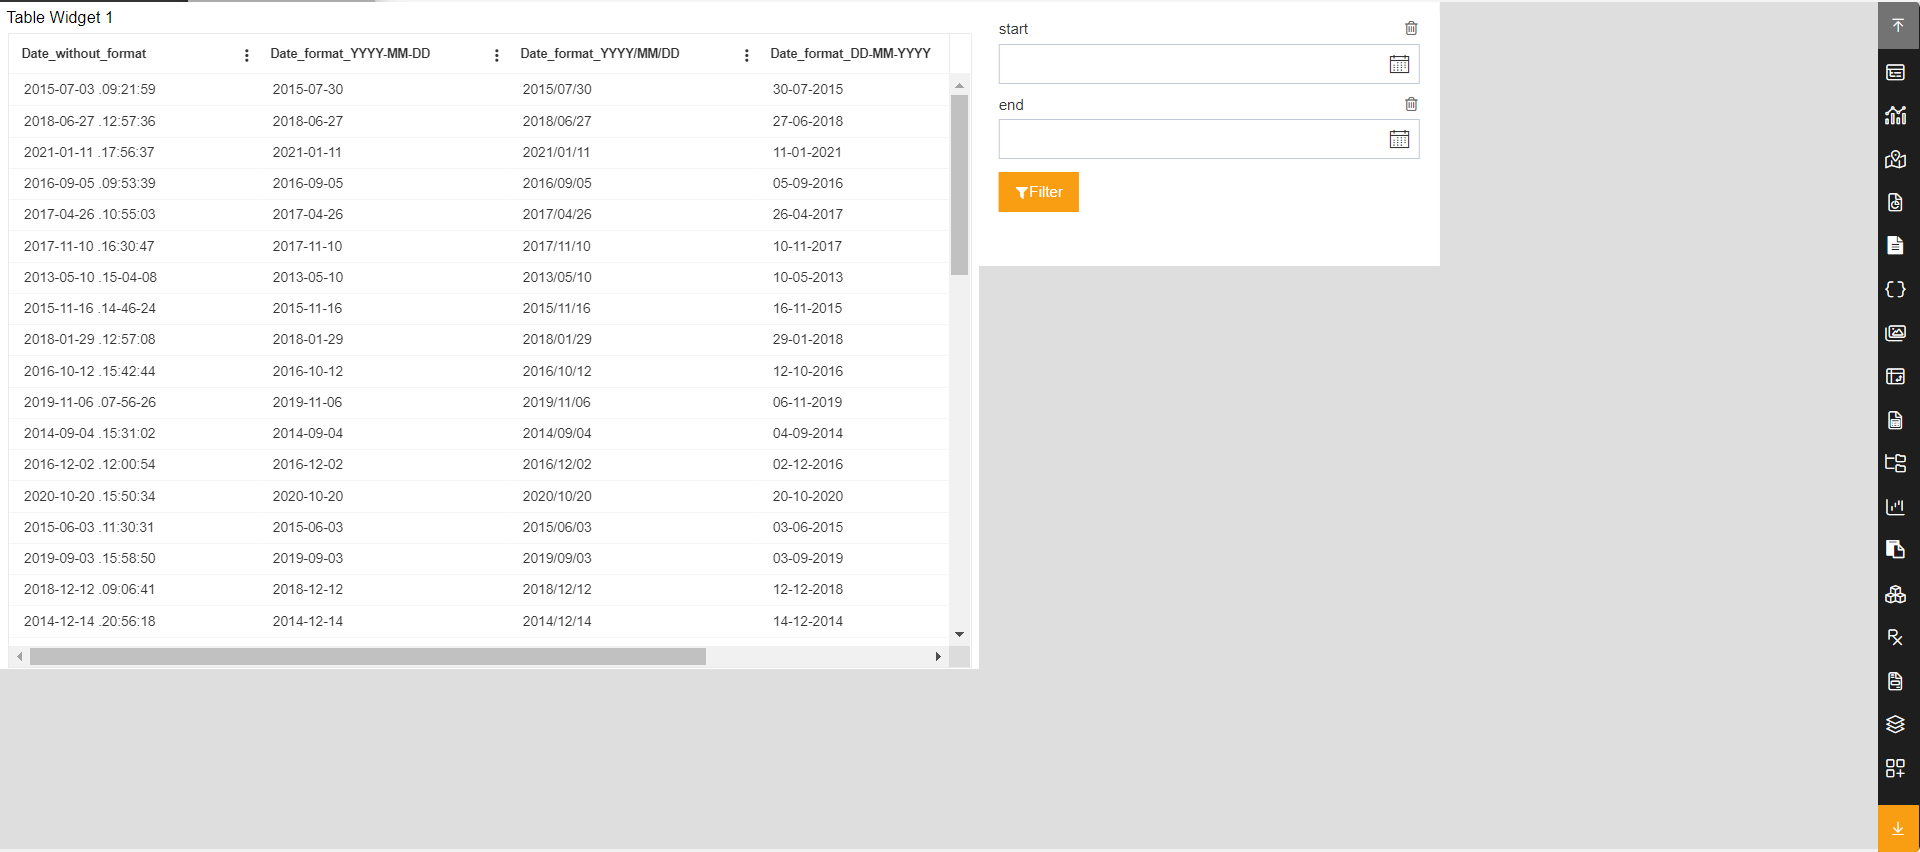
- Click on Save and Exit & the filter will be added to the content area of the dashboard.
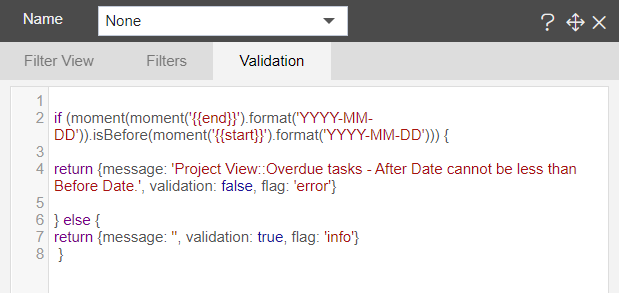
- Again Go to the Filter icon > Validation, & paste the code given below:
if (moment(moment('{{end}}').format('YYYY-MM-DD')).isBefore(moment('{{start}}').format('YYYY-MM-DD'))) {
return {message: 'Project View::Overdue tasks - After Date cannot be less than Before Date.', validation: false, flag:
'error'}
} else {
return {message: '', validation: true, flag: 'info'}
}
- Click on Save and Exit button.
- Click on the Preview icon from the top right corner of the dashboard.
- In the start filter select 01.11.2020 & in the end filter select 04.05.2021 from the icon given with the filters respectively.
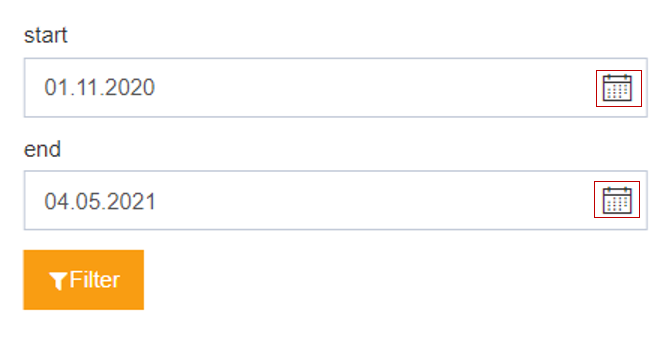
- When the user clicks on the filter button, the widget will look as per the image below:
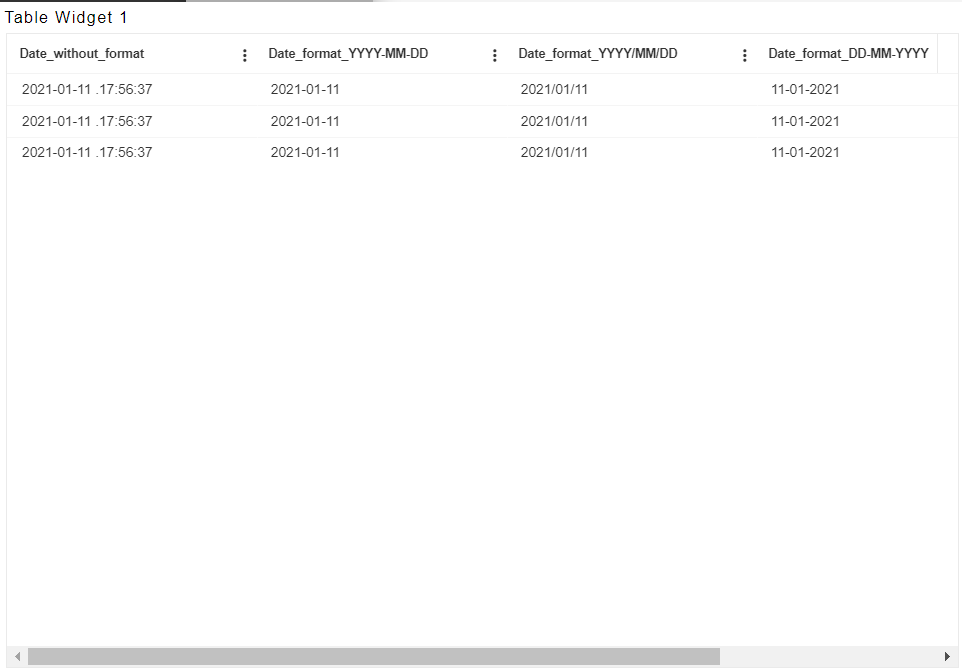
- After this when the user selects 01.10.2020 in the end filter, one message will pop up on your screen as shown below:
